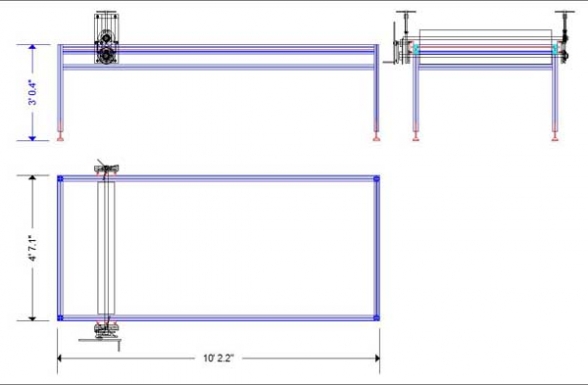
This is a progress report (with many photos) showing a long-term project underway — my design and manufacture of a large (about 5×10 foot) woodblock printing press for shin moku-hanga (new Japanese woodblock prints).
Late in 2004, I decided to produce large woodblock prints — larger than I was able working alone and using a baren… Of course, I’d considered using assistants, but prefer to work alone and on my own schedule. So I began to think seriously about what sort of ‘press’ I might like to use. I tested the method on some medium scale (32″) blocks for “Anthony” using my 30 x 60 inch bed etching press and the very lightest pressure and it worked much better than I’d expected, so I began by researching existing large intaglio presses (I’d first looked into the possibilty of building a huge hydraulic plate-press, but it appeared too heavy and much too costly). Large intaglio presses are also quite expensive, and the best were specifically designed for very thin plates and didn’t have sufficient room between the bed and the top roller to accommodate both my blocks and the vacuum plenum I require to hold them flat. None of the manufacturers seemed willing to modify their designs to my specifications — that came as something of a surprise to me, but I understand their reluctance better now. There were also some significant paper handling problems to overcome while registering large papers single-handed (to be described in a future posting).
Because of space considerations in my studio, a moving bed press was undesirable (requiring a footprint twice the length of the bed, so I first tried to design a very stiff bedded press with a single roller. Deflection of the bed seemed to me to be an insurmountable problem with this method, so I decided a more conventional two-roller scheme would be easier to engineer. I ultimately decided to design a somewhat unique two-roller ‘wringer’ type press in which the bed would be stationary and the rollers could move back and forth across the bed. Because the rollers work in opposition, the bed could be very thin — just stiff enough to support the block prior to printing. I got some ‘help’ from Doug Forsythe’s $25 plans to ‘build your own etching press’ — these made for a more confident start!
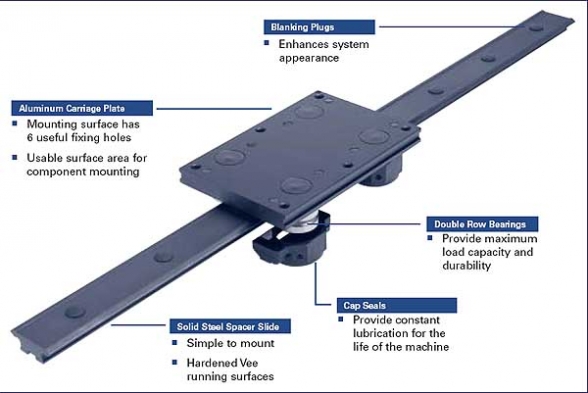
One of the most important decisions was exactly ‘how’ the rollers could be made to accurately move back and forth along the press bed. There are many options for ‘linear motion’ solutions — after much consideration and comparison, I selected some off-the-shelf components from Bishop Wisecarver (BWC.com) who not only provided the excellent (and expensive) aluminum extrusions I chose for the frame components, but also the compatible carriage and rail system which will convey the rollers along the frame rails.
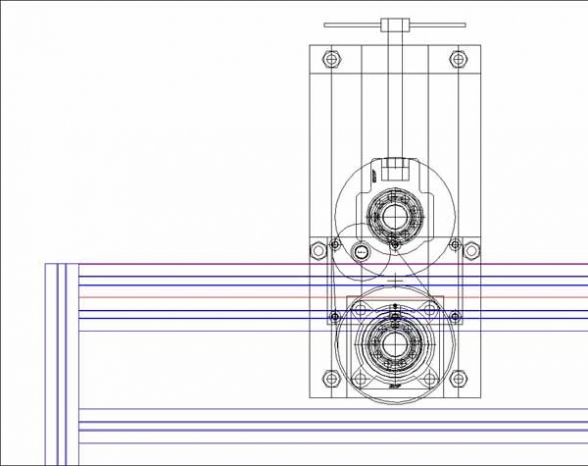
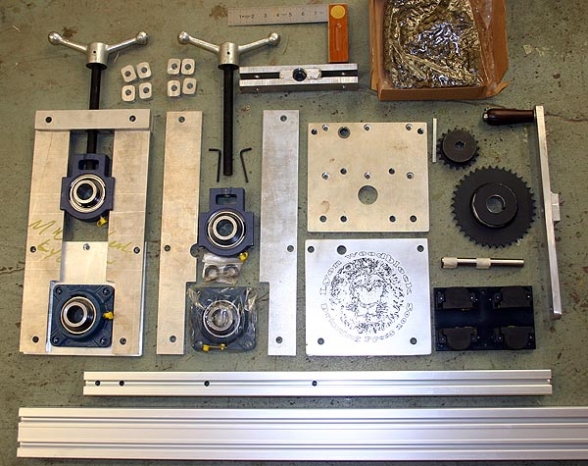
Getting the measurements right, figuring out how long things should be, how to make everything fit together, especially in the drive section where a number of parts had to be coordinated was challenging! For example, consider the two sprockets and chain in the drive — that has always seemed so simple… Until I tried it! There are a HUGE number of choices of chain sizes and sprocket sizes, and after figuring out what weight of chain would work, then there’s the desired mechanical advantage, and finally, you can’t just measure chain to the nearest 16th inch, the links are fixed, so you have to calculate how many links, then the shaft centers can be figured and fit exactly… LOTS of new stuff to learn and calculate — I must have tried 100 different combinations of chains and sprockets before deciding on one set which would work… In the process, I gave up on the configuration which would probably have been best — placing a light weight chain inside each of the long rails which support everything, then meshing a sprocket into that chain on each side to drive the rollers along… That would’a been very cool, but I wasn’t patient enough to redesign EVERYTHING in order to make it all fit… Compromises, compromises…
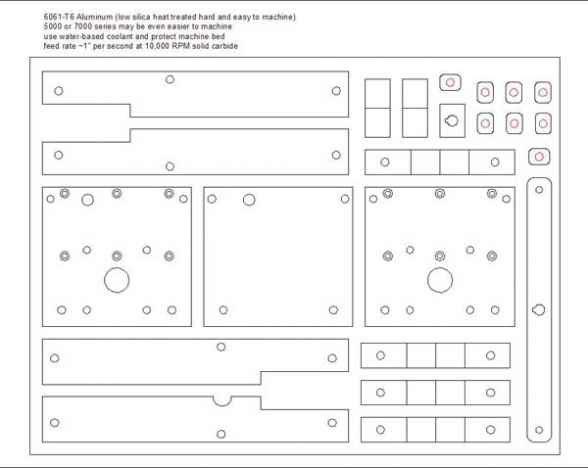
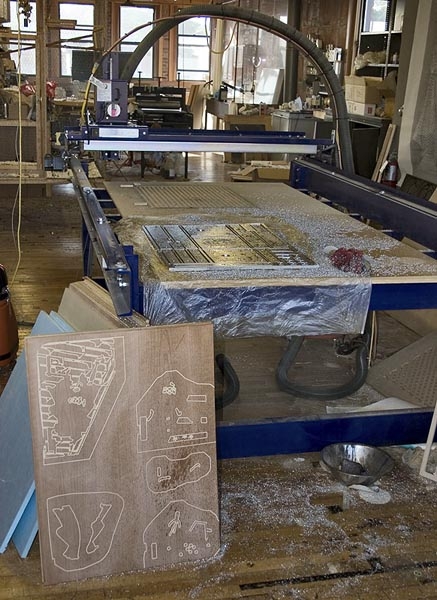
So eventually I decided on a design I thought would work using as many ‘off the shelf’ components as I could find, and making the rest. Because I thought I could machine aluminum myself using the same CNC machine (from ShopBot Tools) I’ve been using to carve large blocks since March, 2004, I designed many of the parts to be cut out of 1/2″ aluminum — here’s the drawing from which the parts were machined:
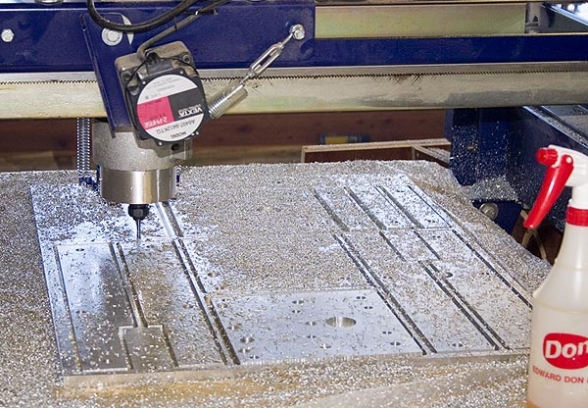
Below is a photo of the machining in progress — it was more difficult than I’d imagined, and I broke a few bits out of ignorance, but if I have to do it again, I’ll be able to accomplish it much more easily. Live and learn!
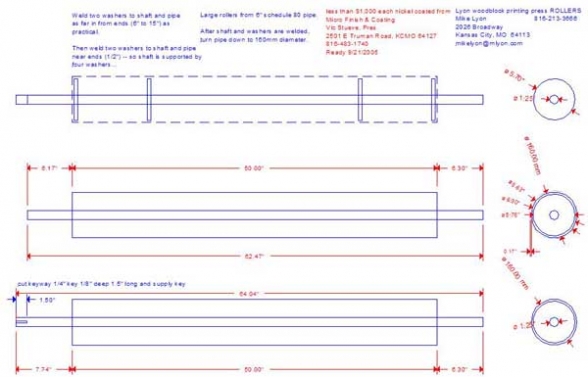
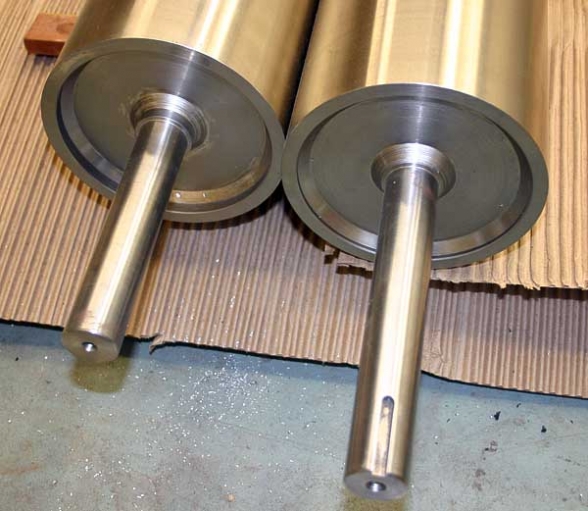
The rollers were another challenge… The bottom roller had to be machined to very close tolerance in order to exactly engage the press bed. I was also concerned about potential deflection in the 1.25″ center shaft and performed some fairly complex calculations in order to satisfy myself that deflection would be minimal under load. Eventually I settled on a design which I had bid at several local machine shops. My design called for four large ‘washers’ to be welded to the shaft and the inside of schedule 80 black pipe, then for the pipe to be turned to precise dimension. But it turns out that schedule-80 pipe is unsuitable for turning, as it contains stresses which won’t allow an accurate turning to be produced, so I had to go with much more expensive seamless DOM (drawn over mandril) tubing.
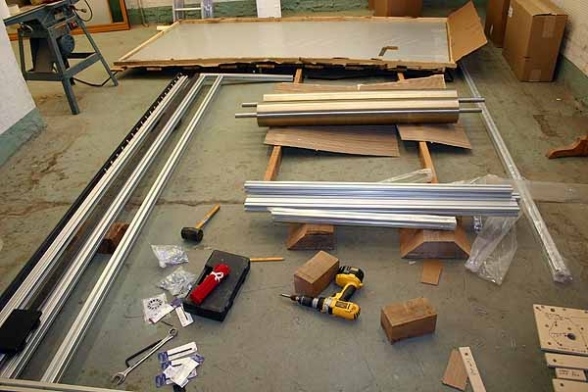
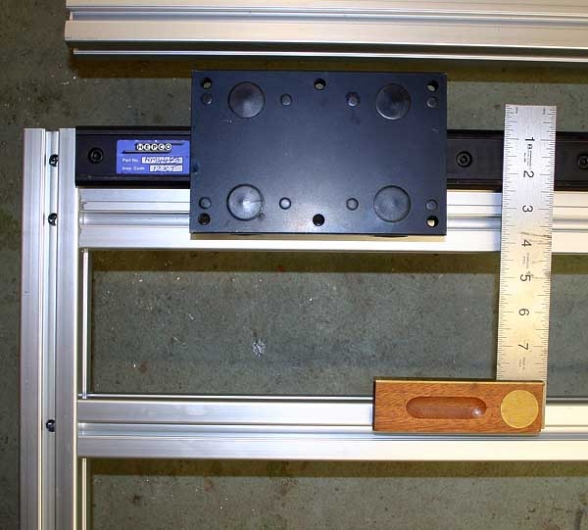
So I am finally actually assembling the thing! So far everything fits perfectly, and I’m feeling optimistic that it’s all going to really work! The rails and carriages have been assembled to the frame sides, seem to work as I’d imagined, and look good!
Total cost has been about $6,500 (yikes! But still SO MUCH cheaper than even a well-used intaglio press of similar size)
To be continued…
